December 22, 2023
How to upgrade your device to Windows 11
If you own a Surface laptop, it may be time to upgrade to Windows 11—the latest operating system that includes enhanced features and a sleek interface. In this guide, we'll teach you how to upgrade to Windows 11 on your Surface device.
Check for compatibility
Before starting the upgrade, make sure that your Surface laptop is compatible with Windows 11. Microsoft has specific hardware requirements for Windows 11, including a compatible 64-bit processor, 4 GB of RAM, and 64 GB of storage. To learn if your device is compatible with Windows 11, visit the Windows 11 requirements page.

Backup your data
Before making any major updates, don’t forget to back up your important files and data. You can do this by using an external hard drive or by taking advantage of Microsoft's backup solutions and tools.
Connect to a stable internet connection
A stable internet connection is essential for a smooth Windows 11 upgrade. Make sure you're connected to a reliable Wi-Fi network to avoid interruptions during the installation.
Upgrade to Windows 11
Now that you've taken care of the prerequisites, follow these steps to upgrade your operating system.
- Open Settings. Select the Start button, then select the gear-shaped settings icon to open the settings menu.
- Navigate to the Update section. In the settings menu, navigate to Updates and Security > Windows Update in the leftmost sidebar.
- Check for updates. Select the Check for updates button. Windows will search for the latest updates, including Windows 11.
- Download and install. If Windows 11 is available for your Surface device, you'll see an option to download and install it. Select this option and follow the instructions.
- Restart your Surface device. After the installation is complete, your device will need to restart to finalize the upgrade.
Customize your Windows 11 experience
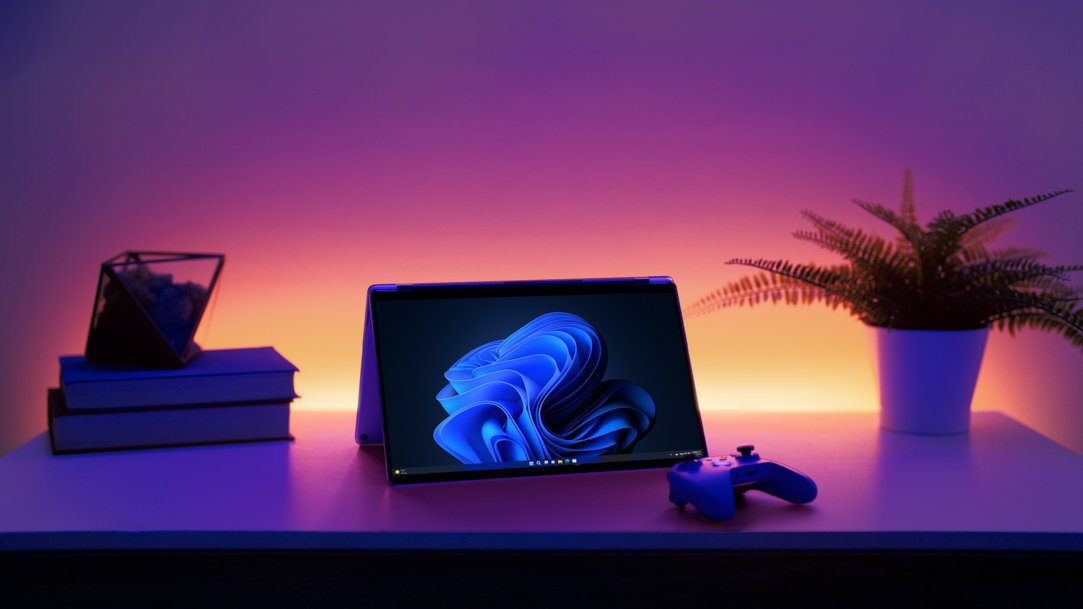
Once your Surface device restarts, you'll be welcomed by the fresh and modern Windows 11 interface. Take a moment to explore the new Start menu, taskbar, and additional features. Windows 11 offers a more streamlined and visually appealing experience compared to its predecessor, making your Surface device even more enjoyable to use.
Enjoy enhanced productivity and more
Windows 11 brings a range of new features and improvements to your Surface laptop that can enhance your productivity. For example, the offers a wider selection of apps, including those optimized for touch and pen input.¹ This is especially beneficial for Surface Laptop Studio 2 and Surface Pro 9 devices, which both excel at being flexible on the go.
Additionally, the new Snap layouts and Snap groups features allow you to multitask more efficiently by organizing your open windows on the screen. This can be a game-changer for those using their Surface laptops for work or creative tasks.
Following these steps will ensure a straightforward upgrade process to Windows 11 on your Surface device. Follow these steps to upgrade to Windows 11 and experience an intuitive and enjoyable computing experience on your Surface device.
Frequently asked questions
-
Windows 11 introduces a modern interface with enhancements like a redesigned Start menu and taskbar. It also includes productivity features such as a wider selection of touch and pen-optimized apps, Snap layouts and Snap groups for efficient multitasking.
-
Your Surface laptop needs to have a compatible 64-bit processor, 4 GB of RAM, and 64 GB of storage to be compatible with Windows 11. You can verify compatibility by visiting the Windows 11 requirements page.
-
A stable internet connection ensures a smooth installation process without interruptions. It's essential to be connected to a reliable Wi-Fi network during the upgrade.
- DISCLAIMER: Features and functionality subject to change. Articles are written specifically for the United States market; features, functionality, and availability may vary by region.
- [1] Chargers, software, accessories, and devices sold separately. Availability may vary by market.
Products featured in this article

Windows 11
Microsoft Surface

Surface Laptop Studio 2

Surface Pro 9
More articles

How to attach and use your Surface Pro Keyboard
Alternative sign in options for Surface devices
