Beginner | Flow of the Week: Generating Flows From Visio
This post comes from Microsoft Flow MVP Daniel Laskewitz.
Daniel is a Business Productivity Consultant & Microsoft Business Solutions MVP who is very enthusiastic about all things Office 365, Microsoft Flow, PowerApps, Azure & SharePoint (Online).
Since the preview, Daniel has been working with Microsoft Flow and later on with Microsoft PowerApps. That led to him being awarded an MVP Award for Business Solutions. He loves to blog, present and evangelize about improving productivity in the modern workspace with these amazing tools!
Here is his post!
Many people have asked for this, and it’s finally in preview: the ability to generate Flows from Visio. After the Word Online Connector for Microsoft Flow and reusable components for PowerApps, In my opinion this is the next big announcement from the Microsoft Power Platform this year.
Let that sink in for a bit. The Power Platform is on a roll, and that’s something incredibly exciting!
Today, I’ll explain what you can expect from the ability to generate Flows from Visio. For the SharePoint-people: it’s not the same as it used to be with the SharePoint Workflows. It’s just a start.
Let’s start with the inevitable: the licensing! If you want to use Microsoft Flow with Visio, you have to get the Visio Online Plan 2 license. So make sure to get that license if you want to play with this feature.
From Visio build 11231+, which is available in the monthly channel (targeted), you have a group of new actions to your disposal.
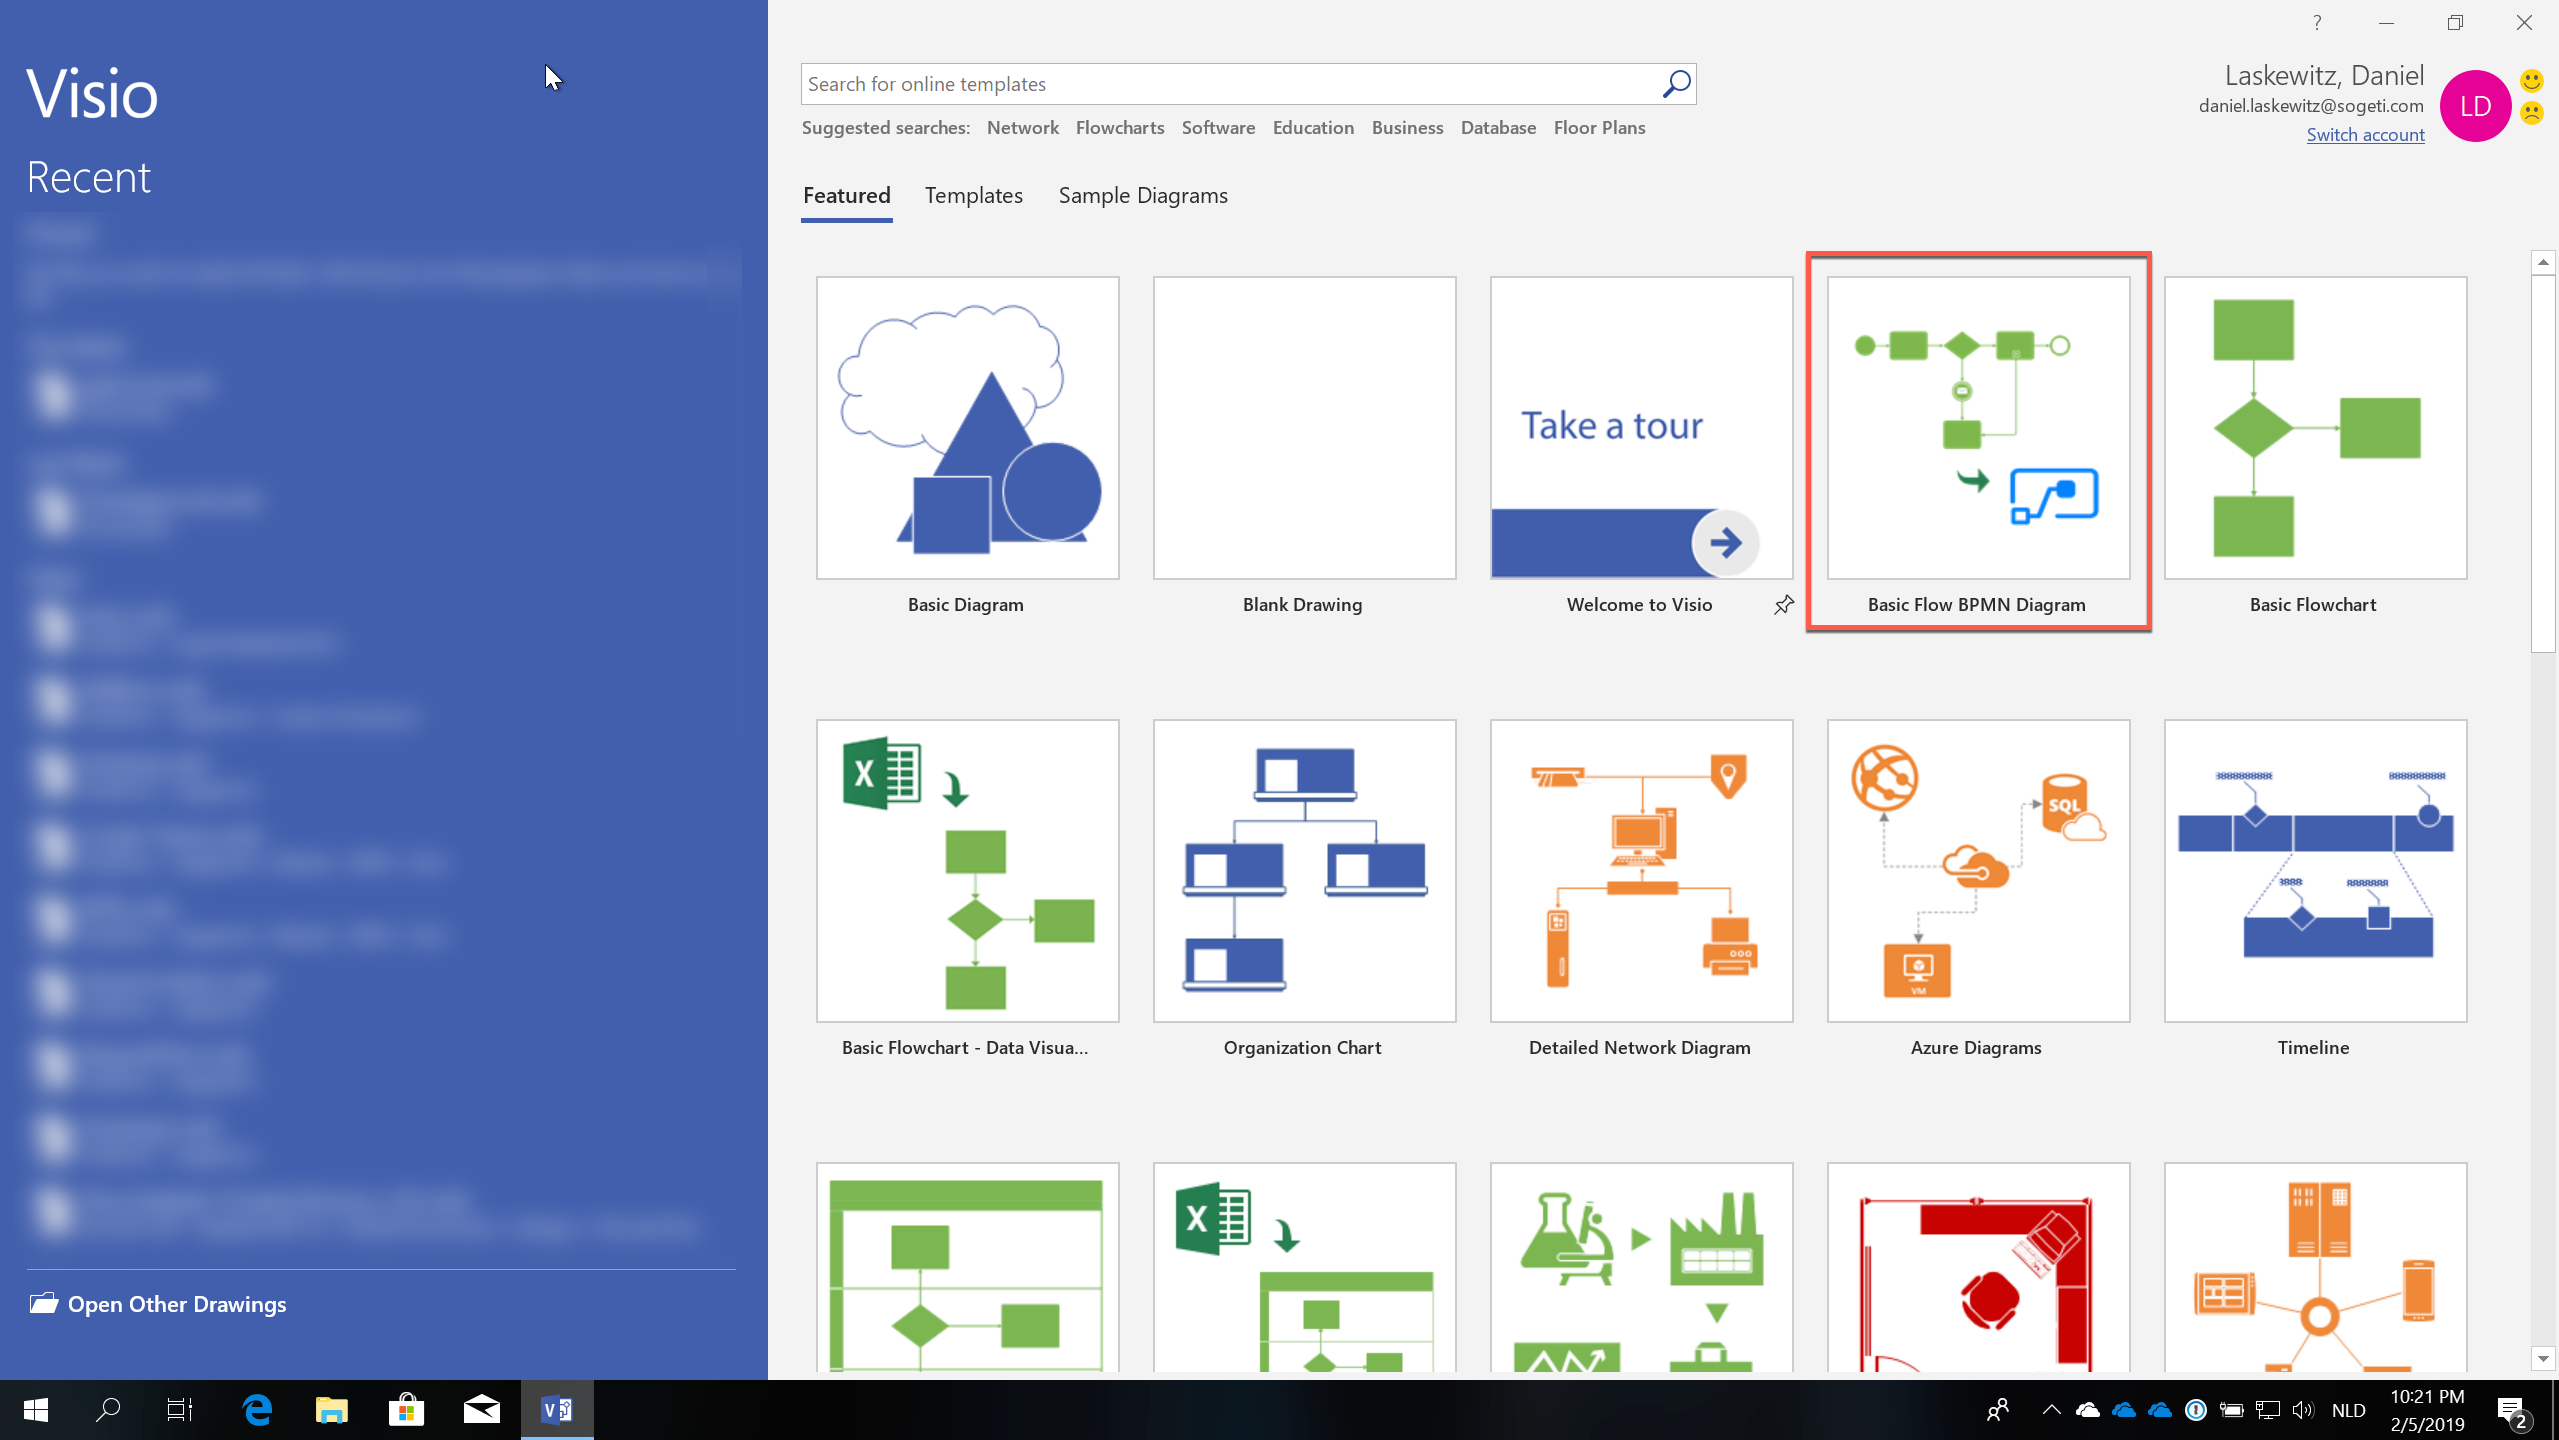
After opening Visio, make sure to select the Basic Flow BPMN Diagram template or if that’s not available like in the image below, search for it.
At the moment of writing, there are four templates available:
– Basic Flow Diagram
– Microsoft Forms Feedback Analysis
– Manager Approval Process
– Purchase Order Workflow
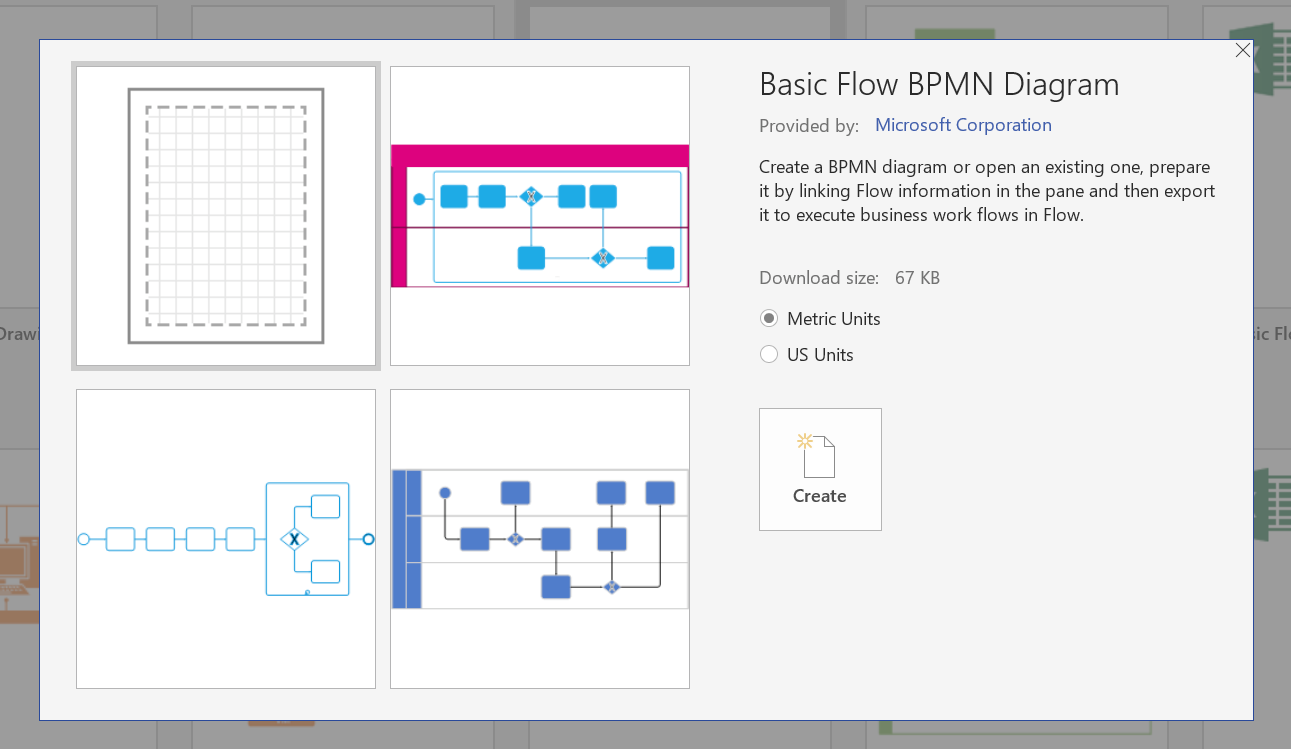
Make sure to try out all the different templates to get a better view of how you can create some Flows from Visio. For this Flow of the Week select the Basic Flow Diagram, the right units (Metric or US) and click create.
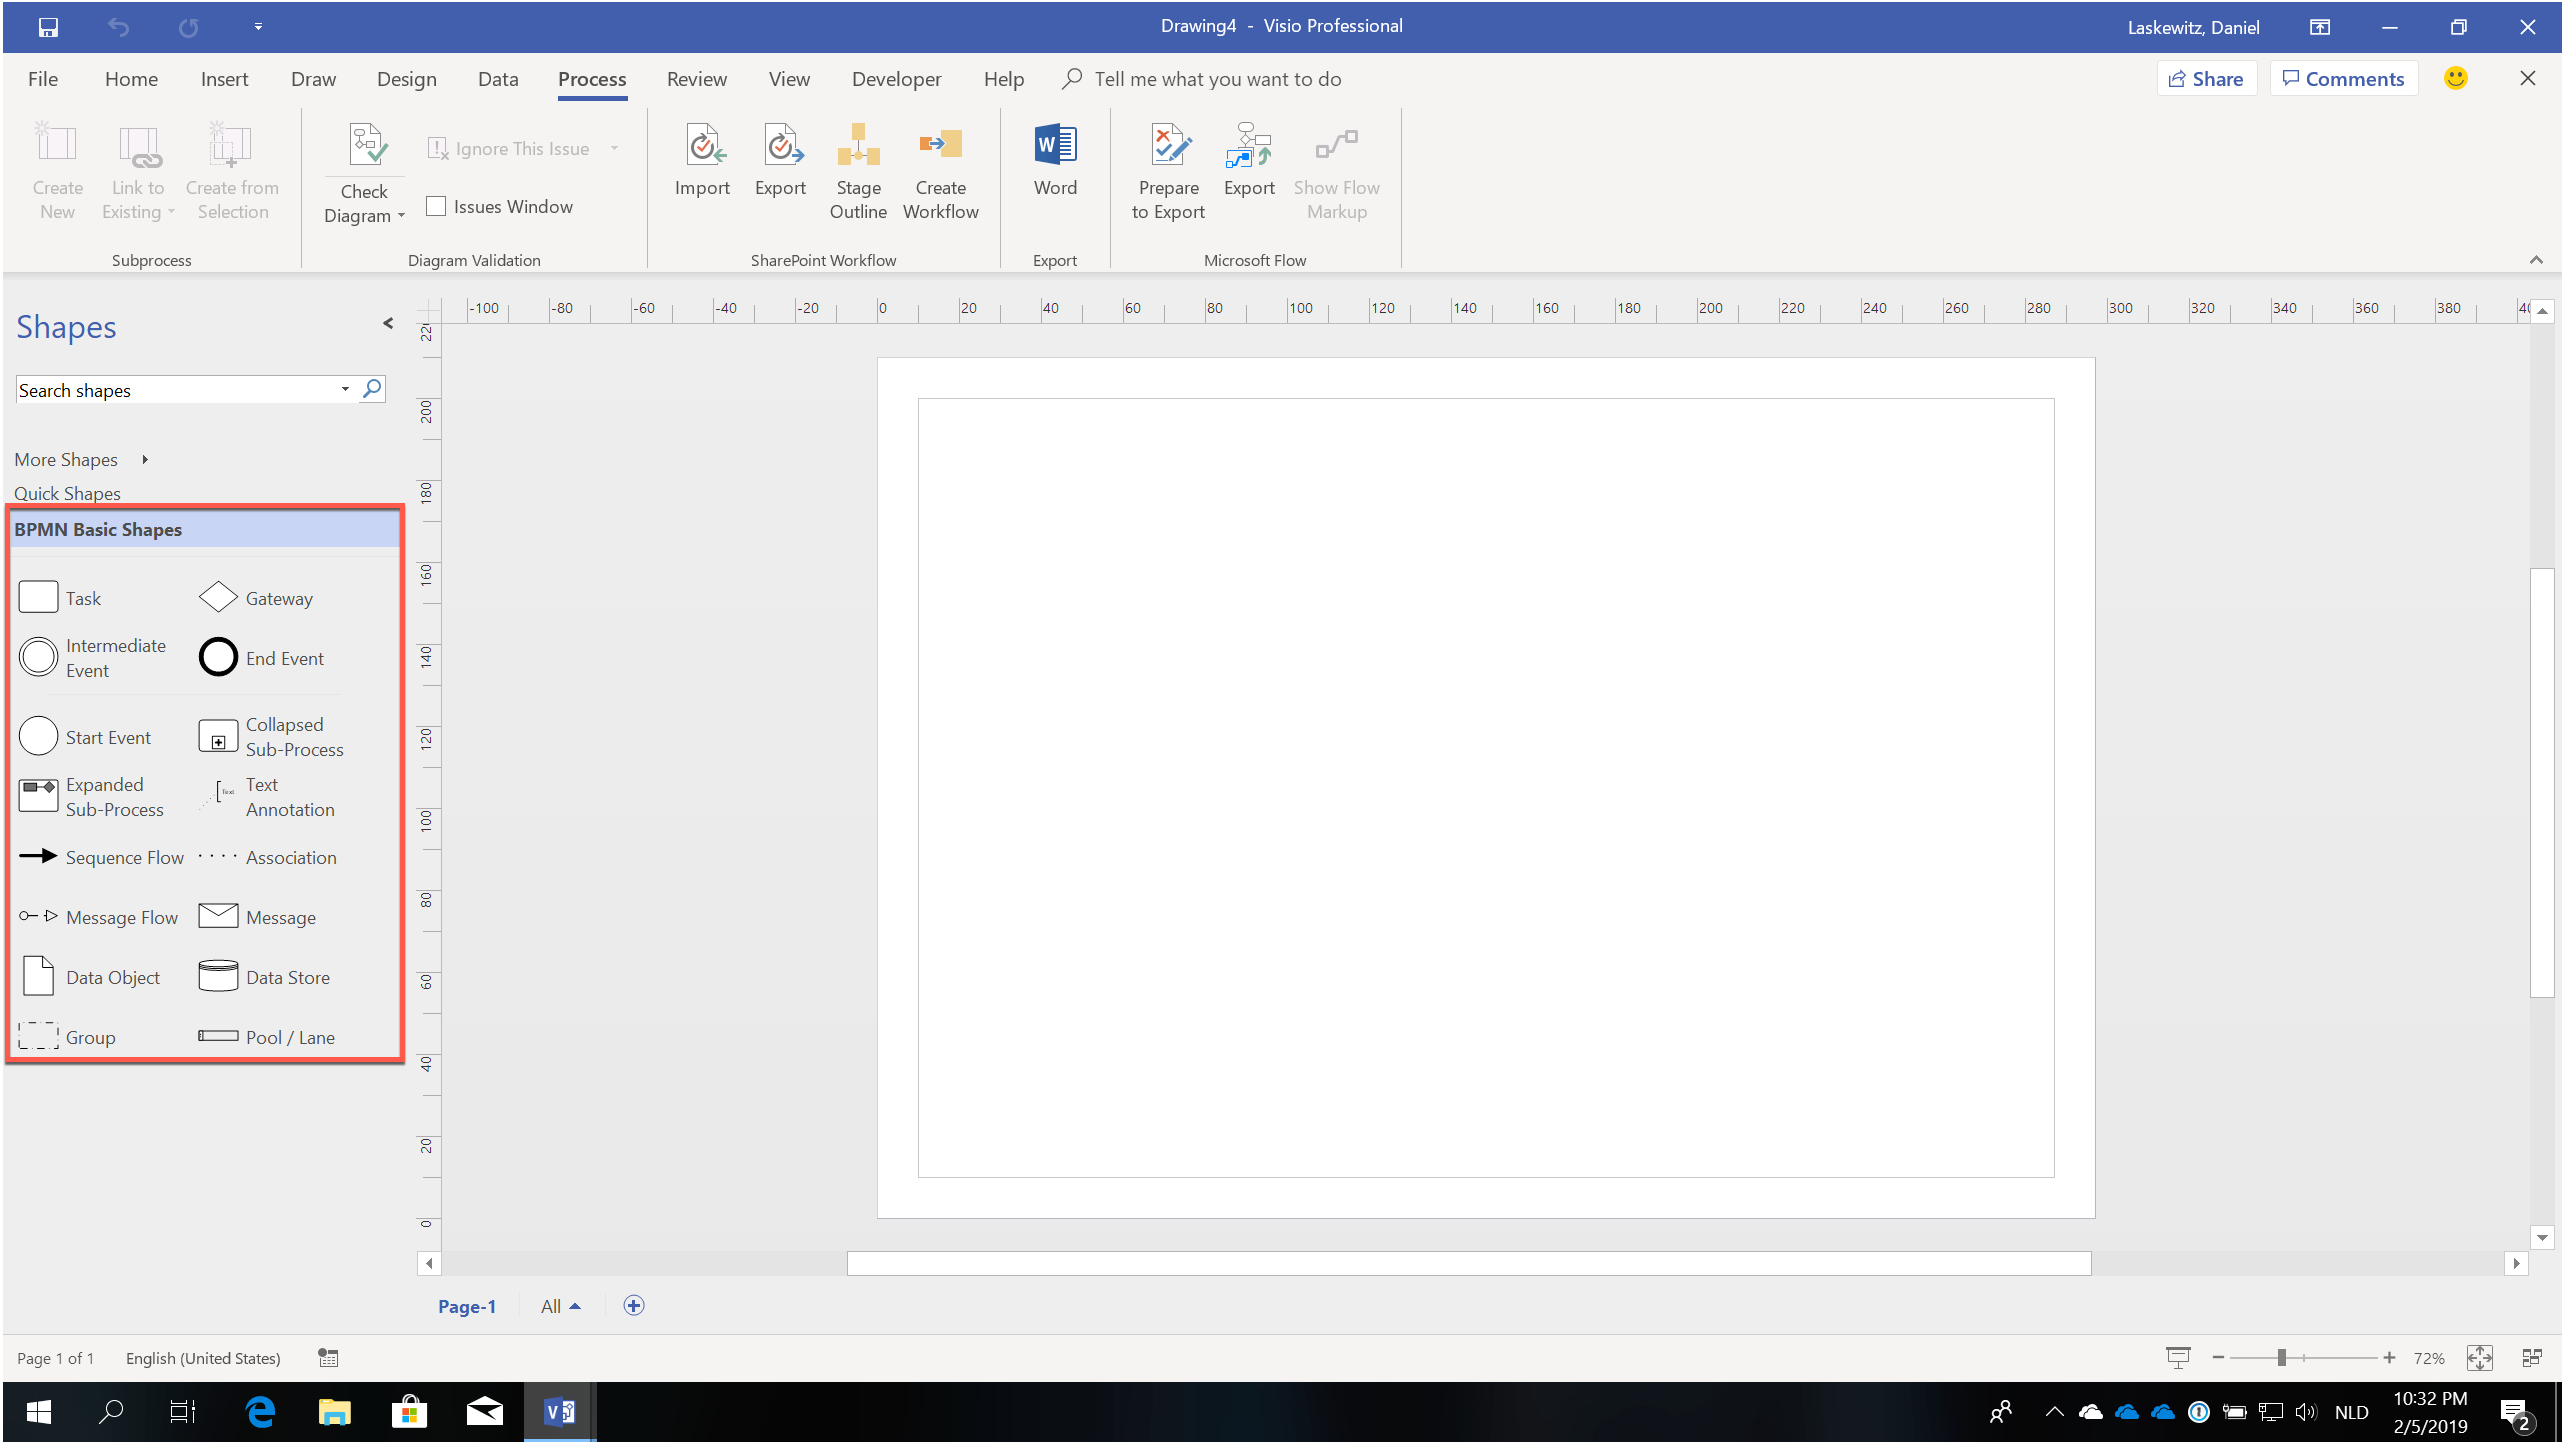
Now we end up with an empty canvas where we can start building our diagram. Let’s start by adding the start event from the BPMN Basic Shapes at the left side of the screen. You can do this by dragging and dropping it onto the canvas. Double click on the start event and give it a name. I am naming my start event ‘When a file is added in SharePoint’. When you click next to the start event, the textbox closes, and the text you just entered is the label of the start event.
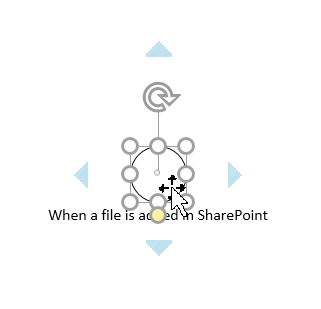
Hover over the start event with your mouse, and you see 4 arrows, on the top, right, bottom and left side of the start event. These arrows help you to define the next step.
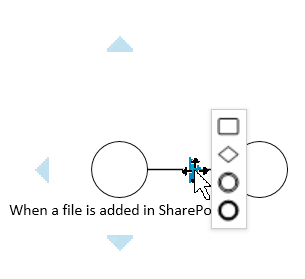
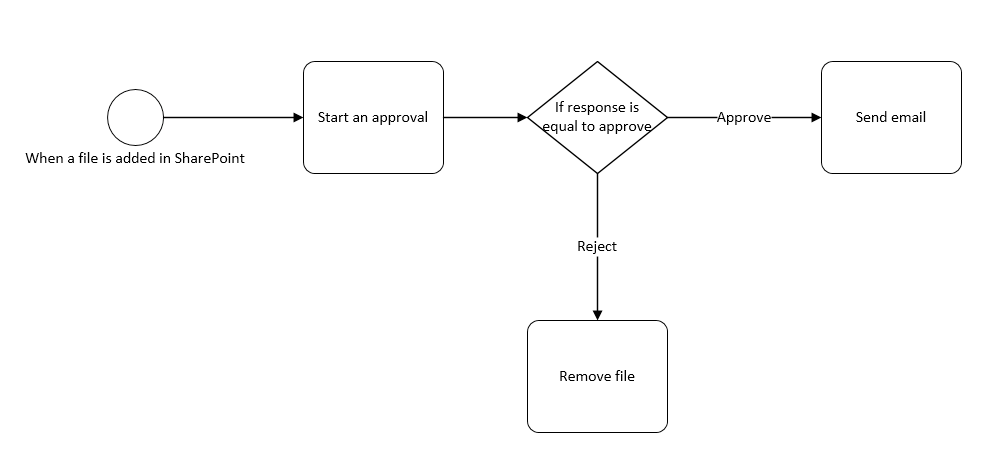
If you hover over one of the arrows, you get options to add new parts to your diagram. For now, let’s select the top one – which is a task. A box appears, and you can drag and drop this to a convenient spot. Double click on the box and add a label. The label I am using is ‘Start an approval’ since that is the Flow action we add to this task later. Hover the task we just created, hover over the arrow on the right with your mouse and select the second symbol in the row, which is a gateway. Next, add two actions on two of the remaining two of the three sides of the gateway that is not used by a connector. Make sure to add the labels and make it look like the following image.
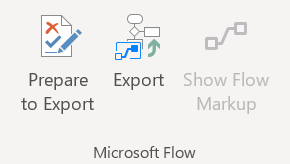
Now we go back to the group of new actions. You can find the group of new actions in the Process tab. The first Microsoft Flow action that is available there is Prepare to Export.
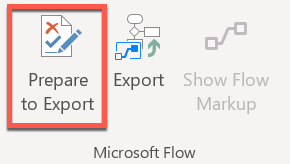
Select that action and two things happen:
1. A sidebar appears where you can map the BPMN gateways to Flow Conditions and apply Microsoft Flow triggers or actions to different shapes in our BPMN Diagram
2. Icons appear next to the shapes of our BPMN Diagram to indicate that we can map these shapes to triggers or actions in Microsoft Flow.
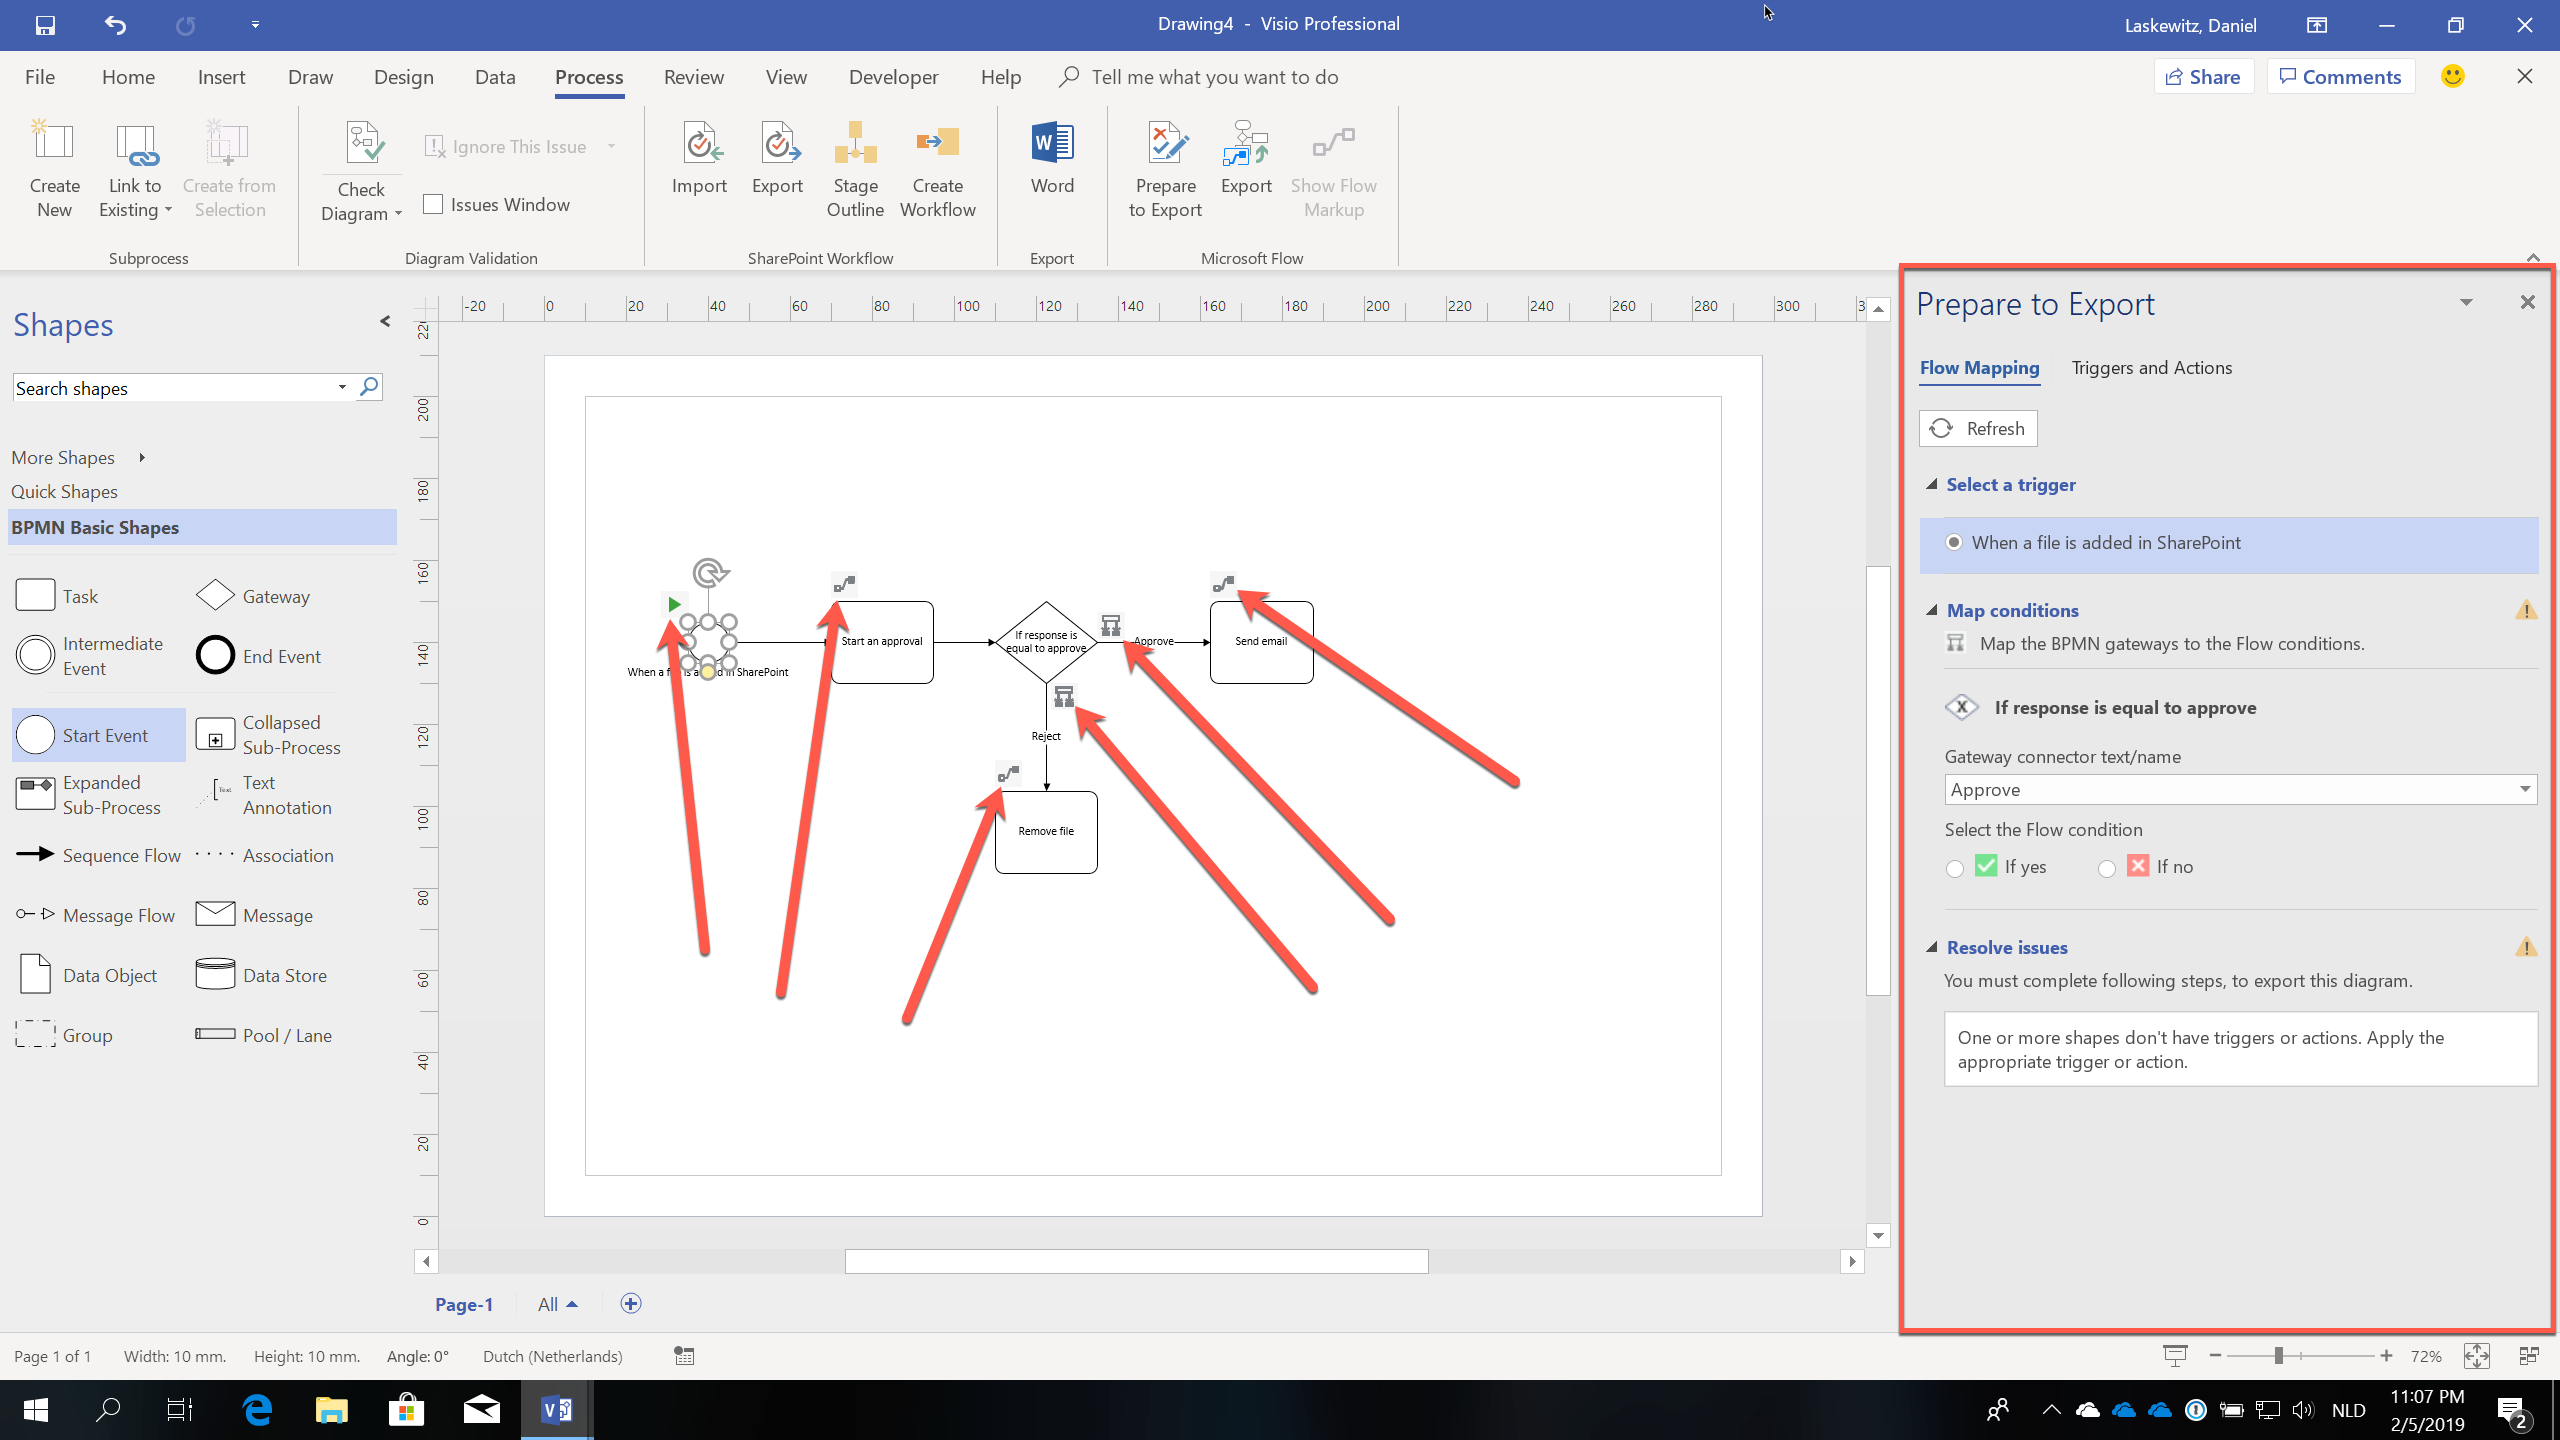
There are a couple of actions we need to do before we can export our BPMN Diagram to Microsoft Flow.
– Click ‘if yes’ in the map condition part in the sidebar to make sure that the if yes part of the Flow condition gets mapped to the right part of our BPMN Diagram: the approve path after the gateway
– Select the shapes in the BPMN Diagram one by one and make sure to map it to Flow triggers and actions via the triggers and actions tab in the sidebar
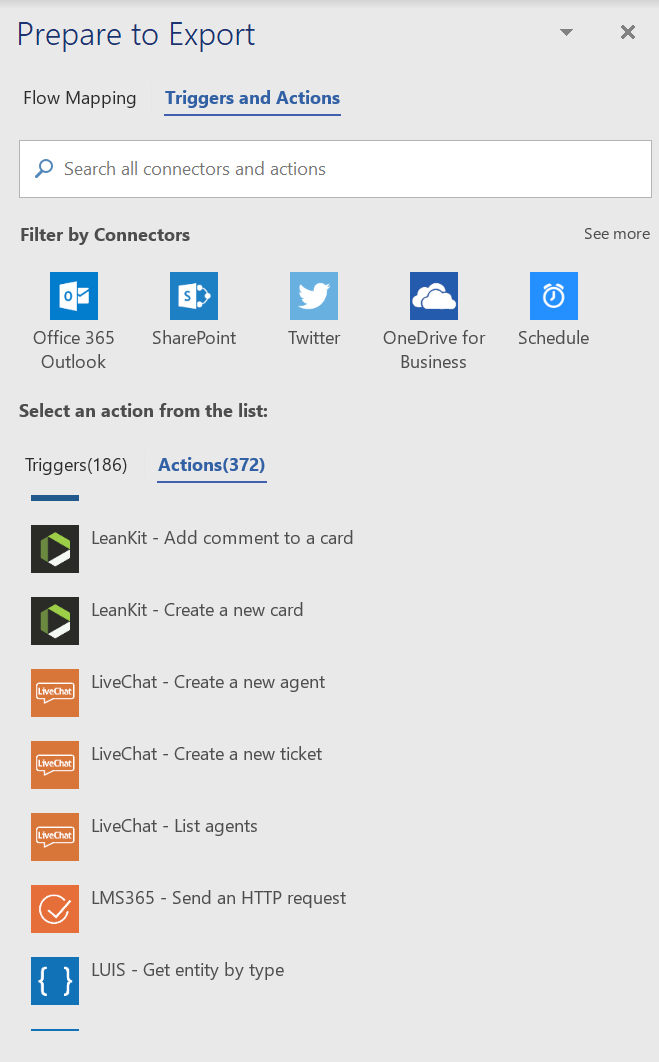
Map the shapes to the following triggers/actions:
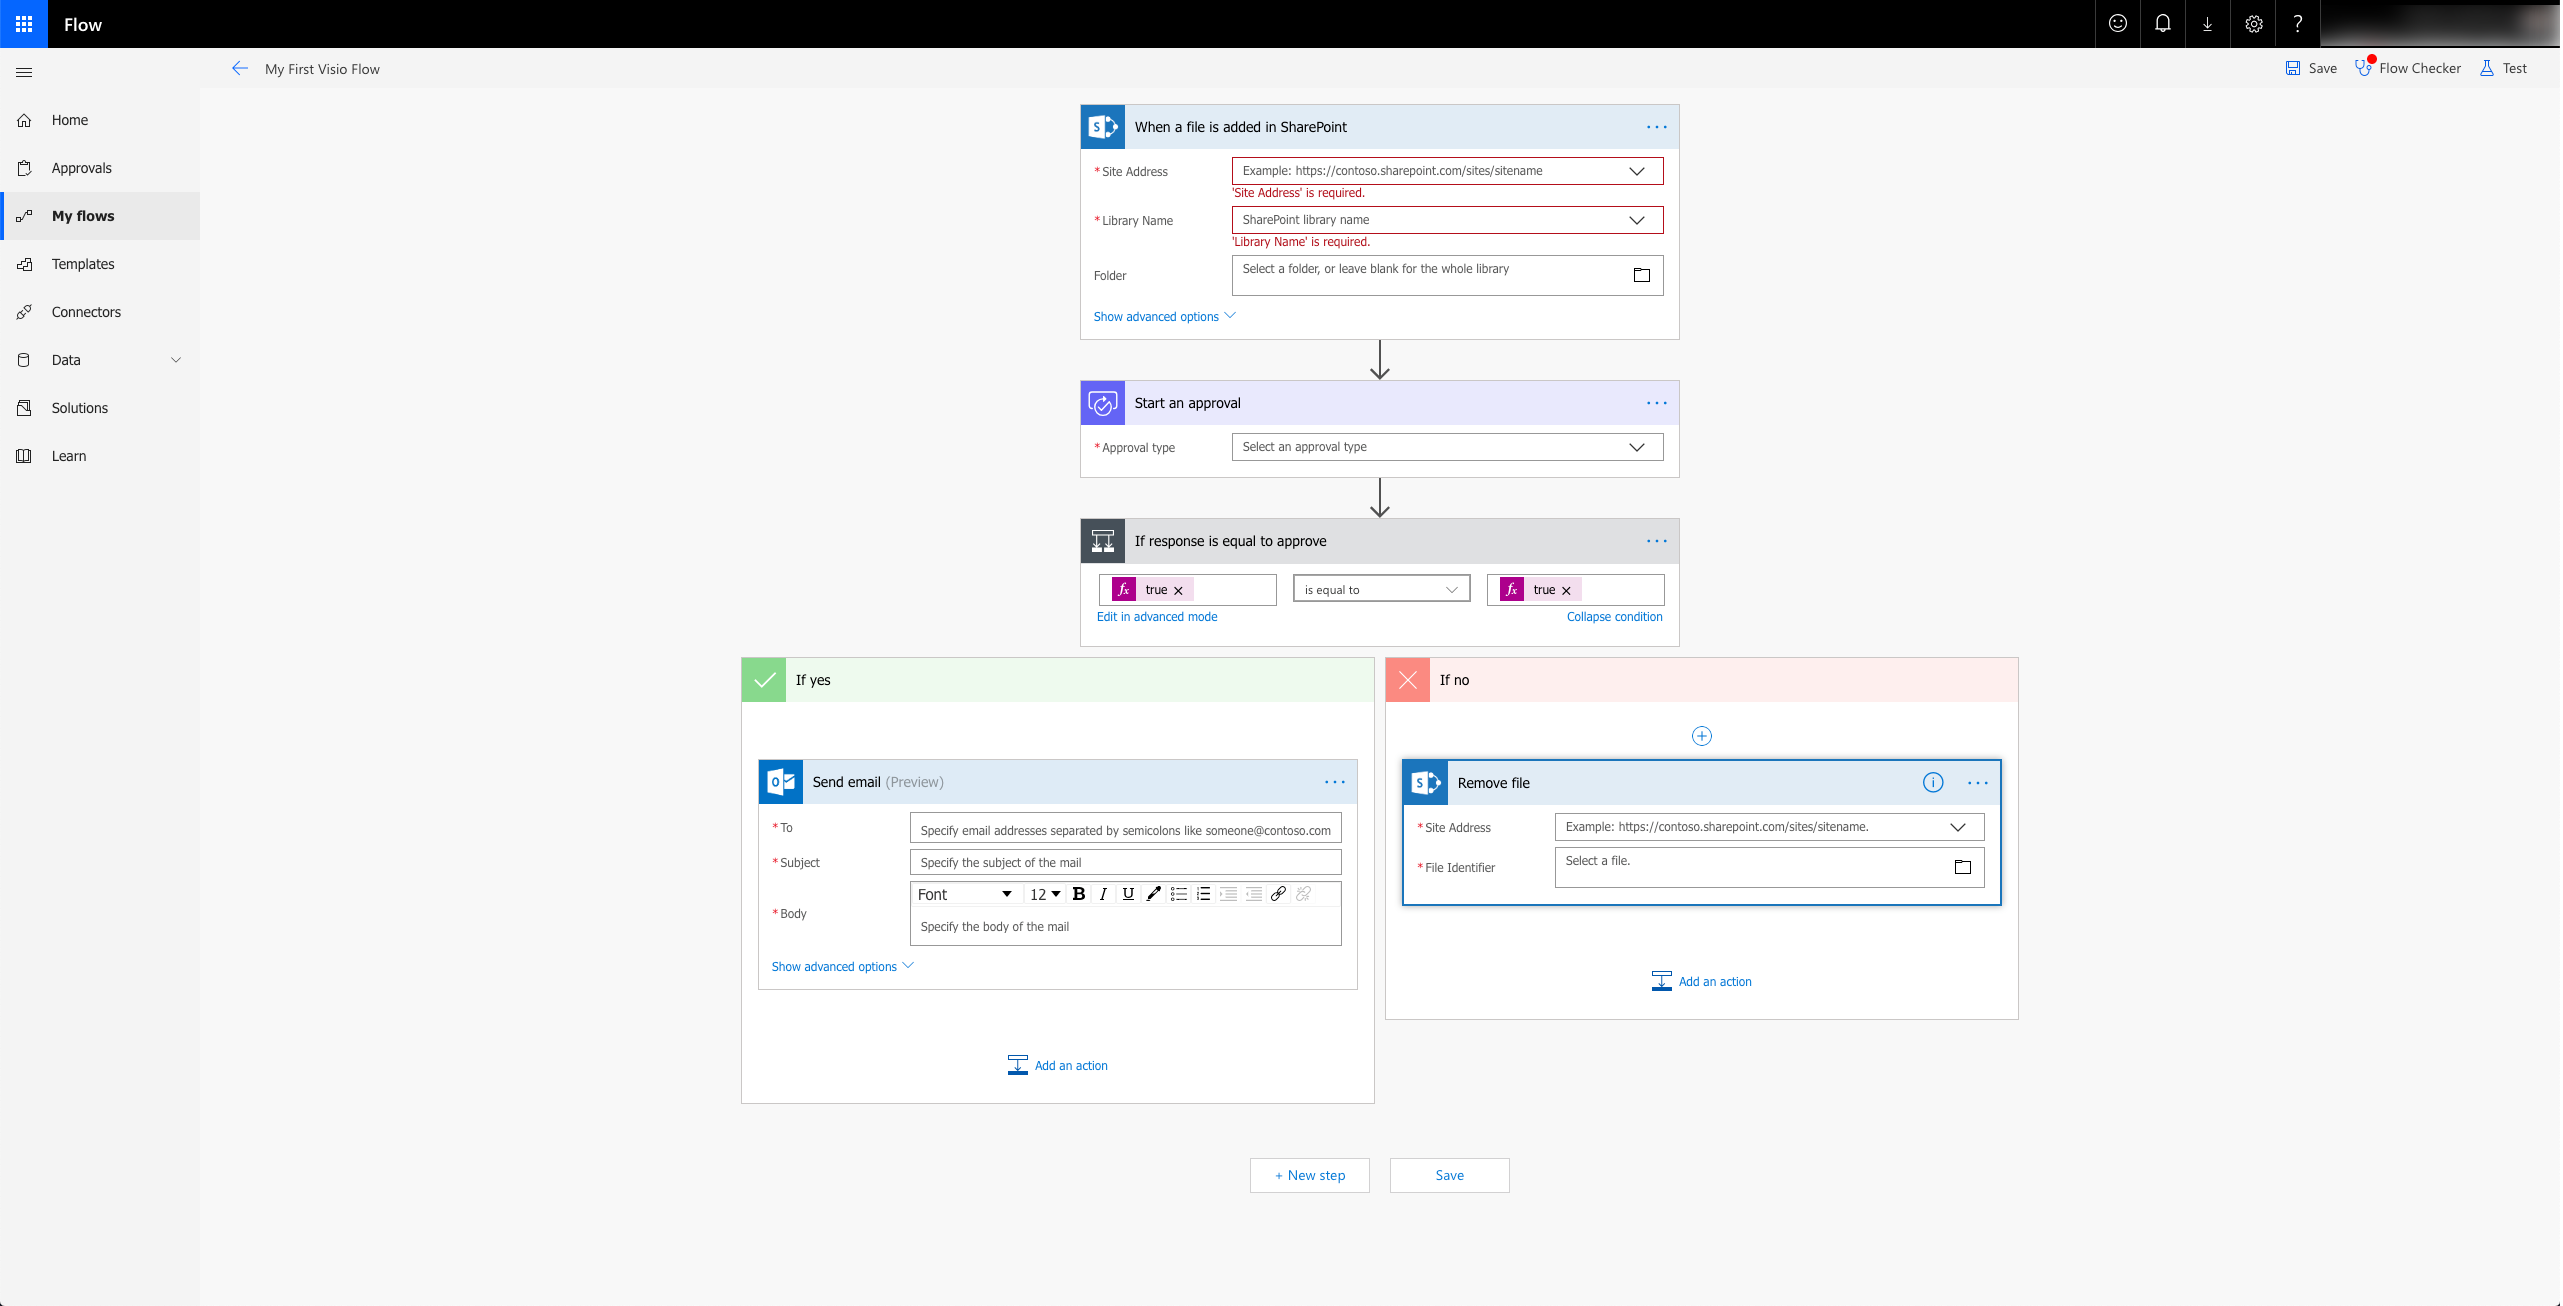
– Start event: SharePoint – When a file is created (properties only)
– Action (start an approval): Approvals – Start an approval
– Action (remove file): SharePoint – Delete file
– Action (send email): Office 365 Outlook – Send an Email (V2)
If you mapped the shapes correctly, your BPMN Diagram looks like this:
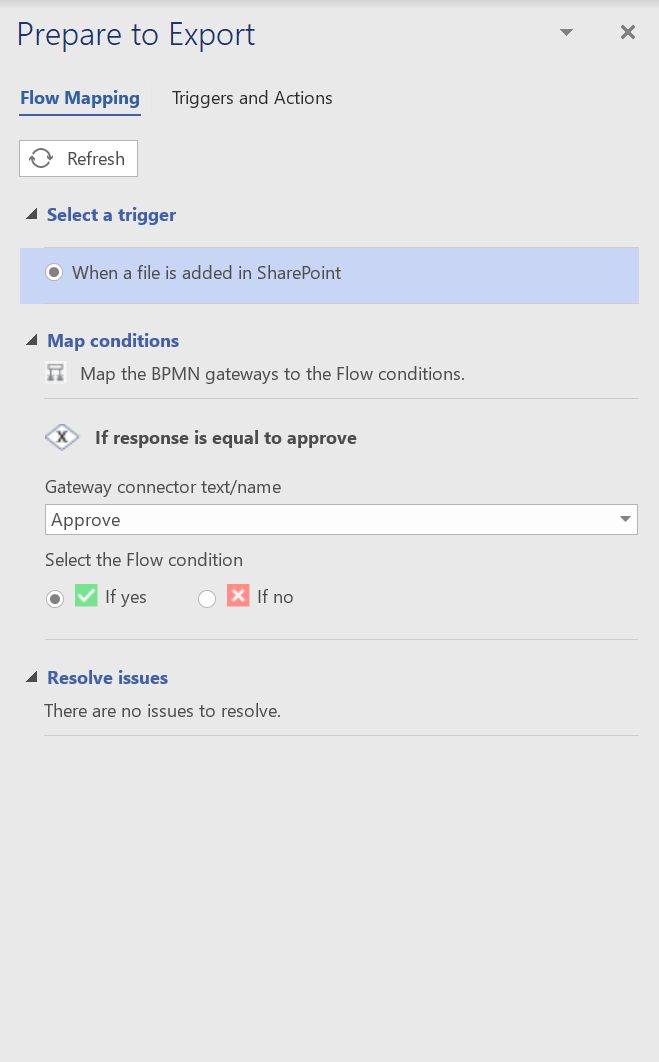
Select the Flow Mapping tab in the sidebar, click the refresh button on the top, and you can see there are no issues to resolve.
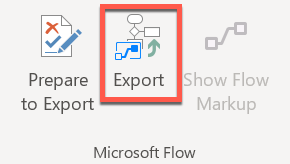
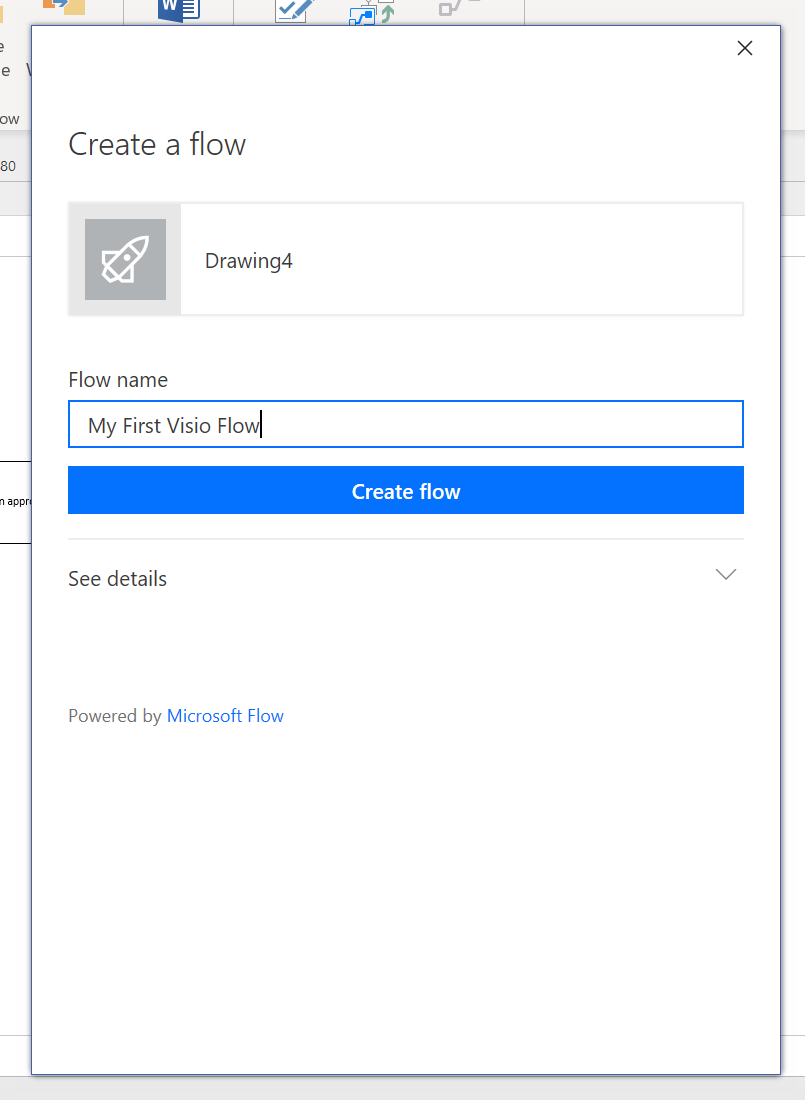
Click the Export button and make sure to log into the account you want to use to export your Flow. Fill in a creative name for your Flow and click ‘Create flow’ to create the flow in your environment.
Head over to Microsoft Flow in your browser and go to the My Flows section. Edit the Flow and make sure to fill in all the properties correctly. Save the Flow and your Flow will start working.
This was a quick tour of the Visio features that are now in Public Preview. I hope this will make it easier for you to get started.
If not, the Visio team prepared some great content. Enjoy the new features!
