
Employee Experience Starter Kit
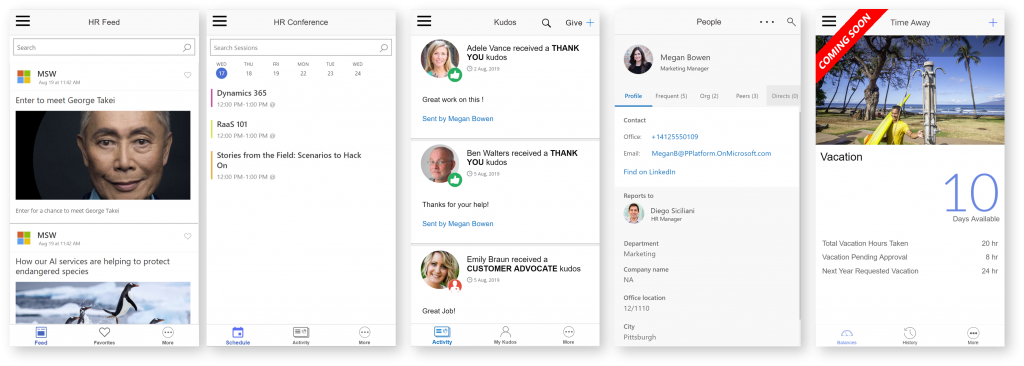
A while back, we shared the story of Microsoft Thrive, a suite of employee engagement apps deployed worldwide to 100K+ Microsoft employees. In a recent PowerApps webinar, Pat Dunn and the Thrive team demo’d the apps and walked through the solution architecture – how they built the apps using the Microsoft Power Platform connected to existing back-end systems, such as SAP, Web services and more.
In this blog, we are pleased to share the PowerApps Employee Experience Starter Kit – a refactored version of the Microsoft Thrive Apps, built using the latest Common Data Service (CDS) improvements and available for Microsoft Power Platform customers to download and use as reference samples and templates.
The Employee Experience Starter Kit consists of 5 solutions:
- Employee Hub: An app to view company news and connect with other apps via actionable cards
- My Conference: An event management app for internal employee conferences
- Kudos: An app for peer recognition and praise among employees
- People: An app to view and navigate the company org chart
- Time Away: A time and absence reporting app.
Download the packages at https://aka.ms/powerapps/employeeapps
Employee Hub
The Employee Hub app is where it all begins, employees start here to keep up with company news, get important alerts, see tasks at a glance, find and launch other apps.
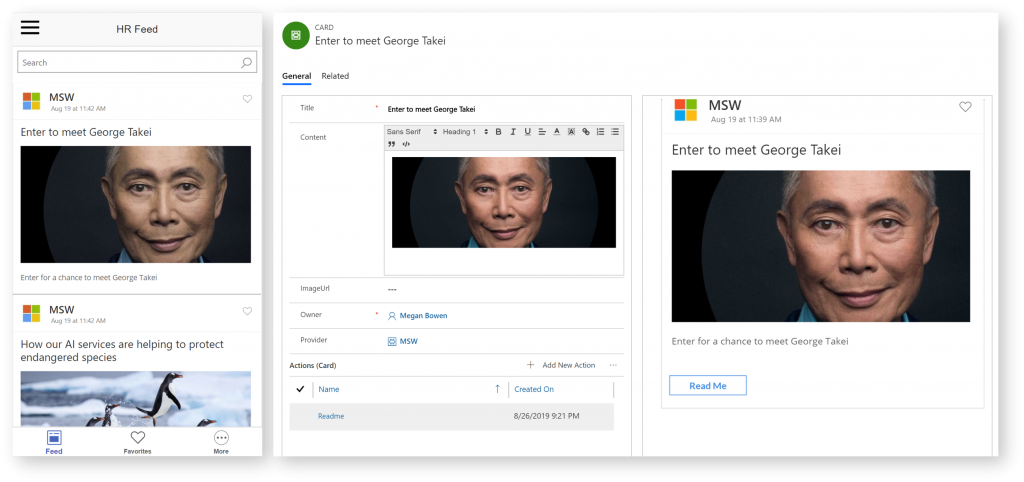
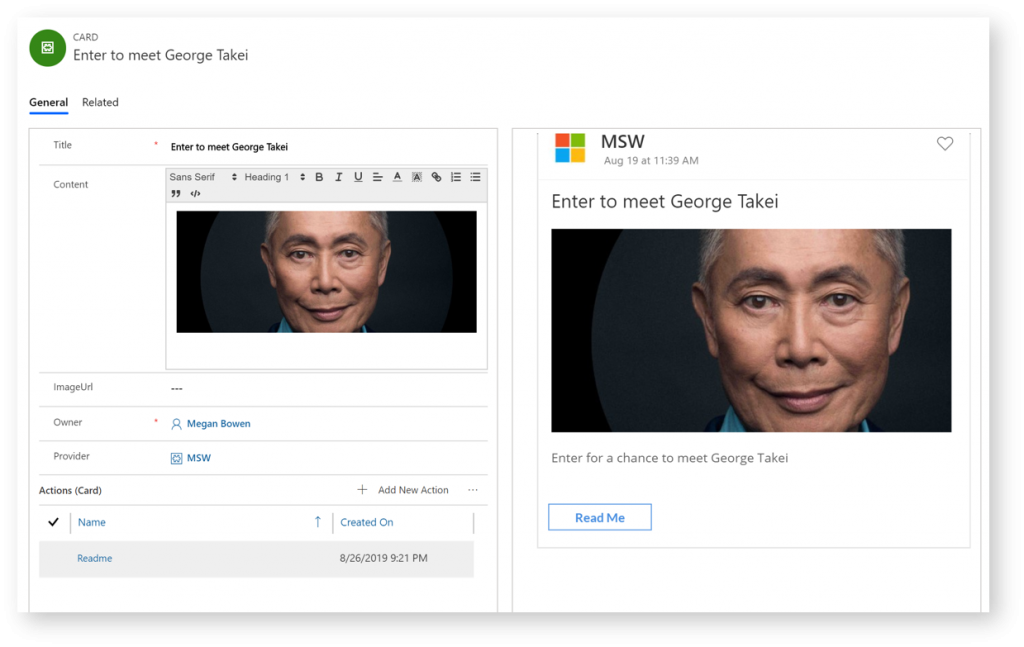
The employee hub app comes with a model driven app which allows editors to author and preview content.
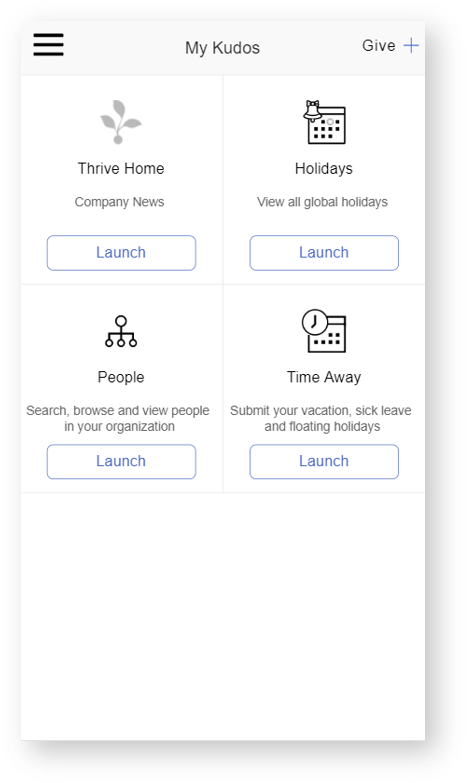
It includes a hamburger/fly-out menu reveals the following menu allowing users to find other useful apps.
My Conference
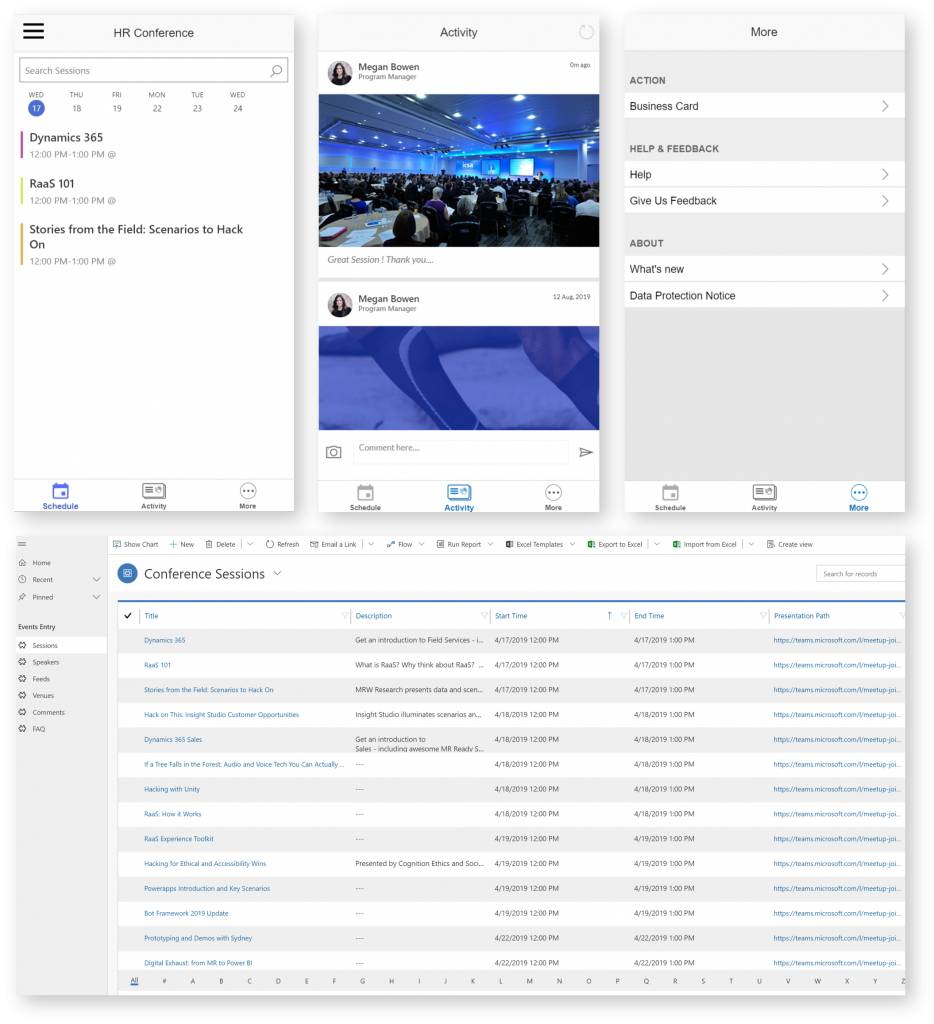
My conference app lets you browse through event sessions, speakers and venues. There is also an activity feed to post pictures and comments. There is also a Model driven app that let you manage the conference.
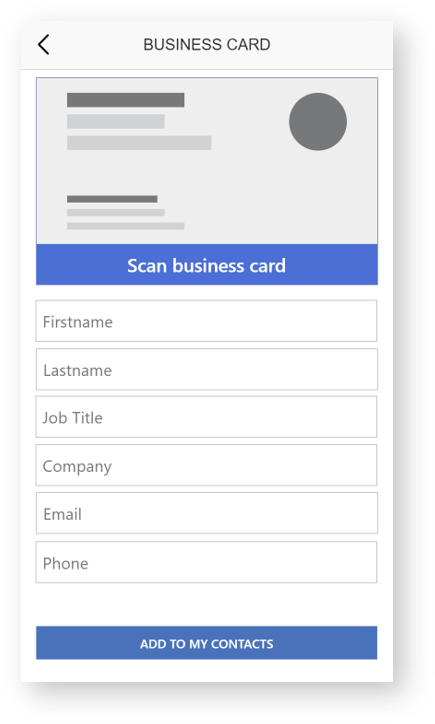
It includes usage of AI Builder capabilities to scan business cards and directly add them to your contacts.
Kudos
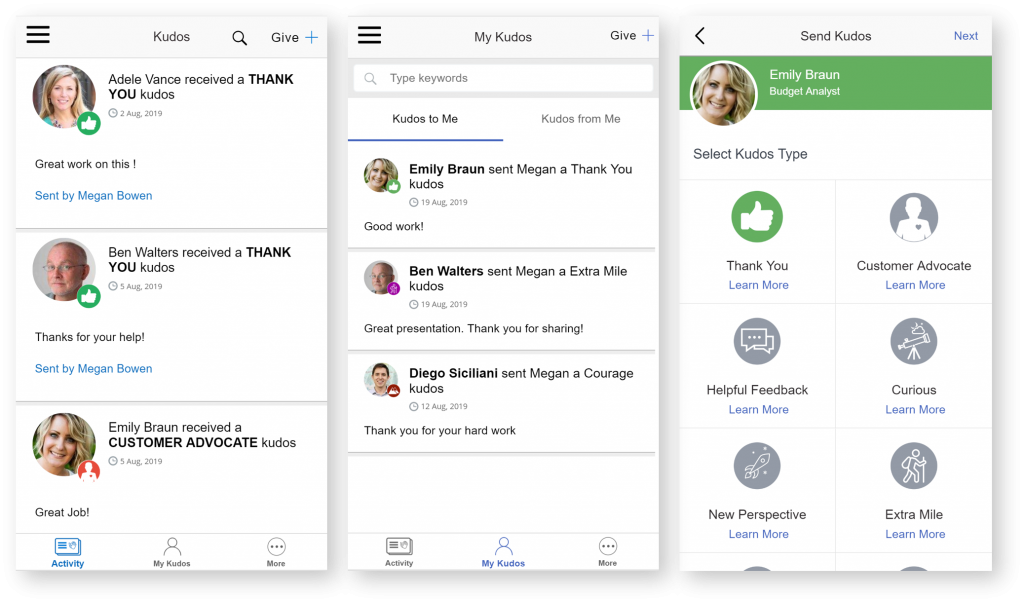
With this app, you can give kudos to a colleague and view kudos received by your colleagues. Each kudo message has a badge that you may customize for your organization.
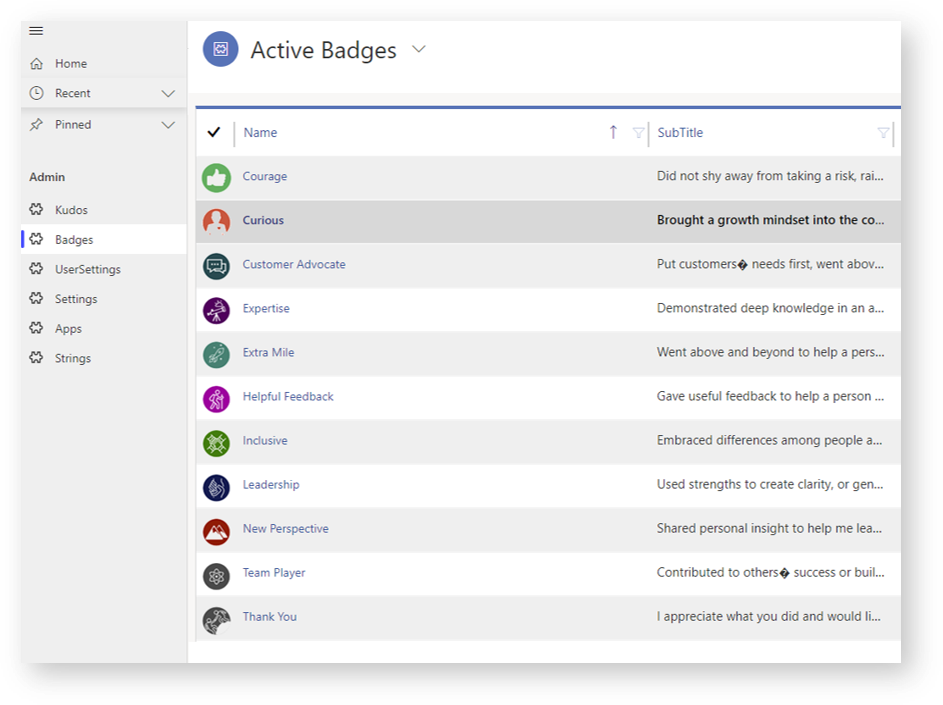
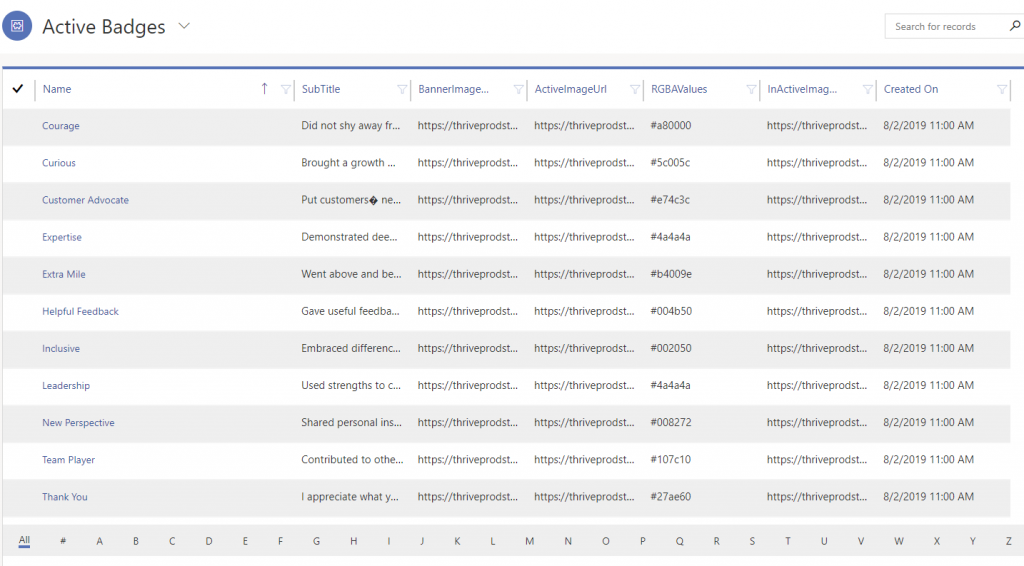
Badges can be configured via the model driven app:
People
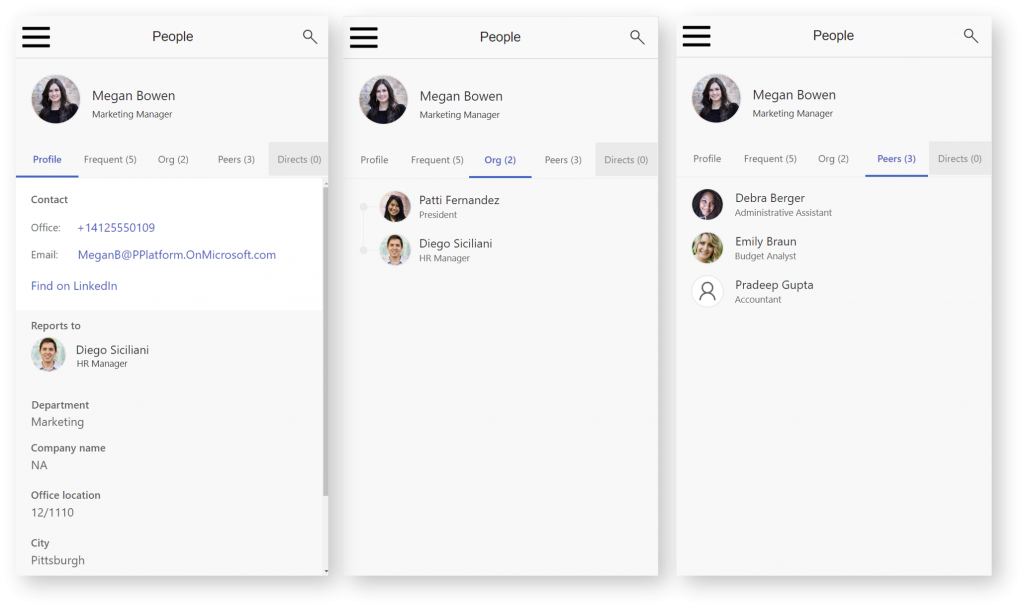
The People app allows you to quickly find people in the employee directory and view their profiles. You can browse the org view for any employee and understand reporting structure, and contact them via your device’s native features (phone, text, email).
Time Away
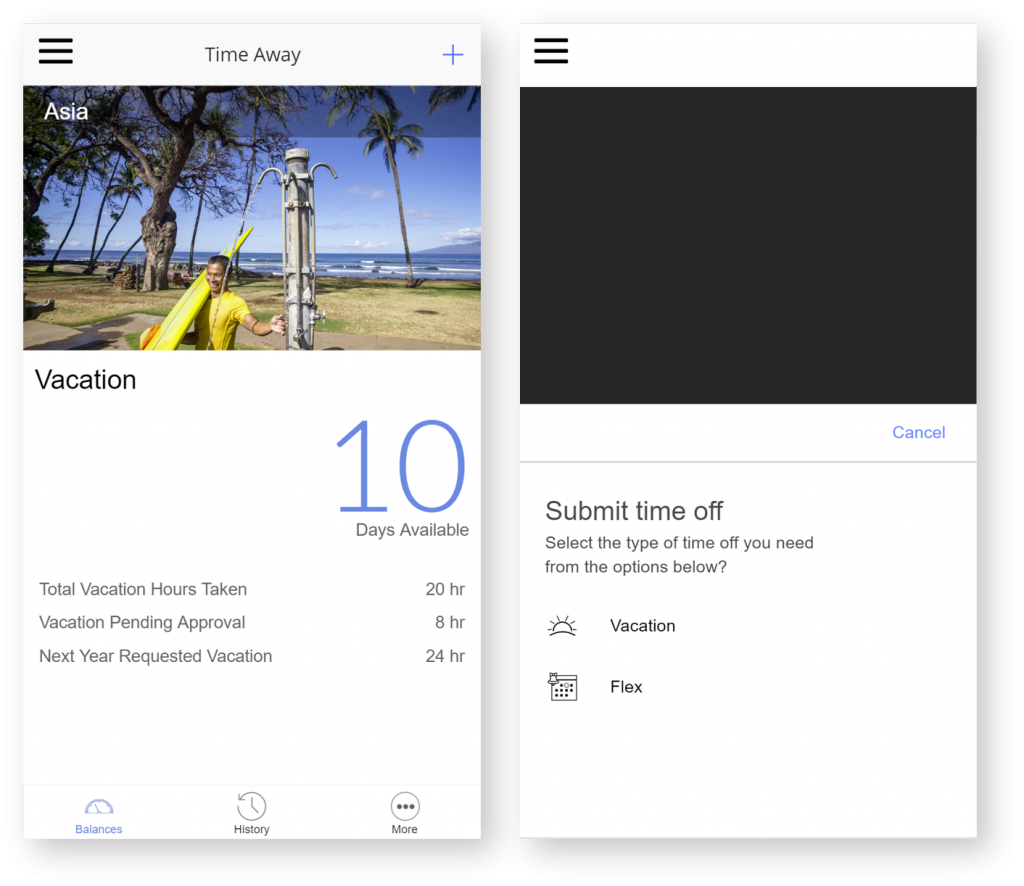
The Time Away app lets you check your vacation balance, submit your time off, set your out of office auto reply, and send an out of office invite to the people with whom you work the most. All of this can be done in under a minute.
How to install the solutions
Installing the solutions requires an environment with the Common Data Service enabled.
Solutions Installation
1. Navigate to https://make.powerapps.com/ and make sure you are the correct environment.
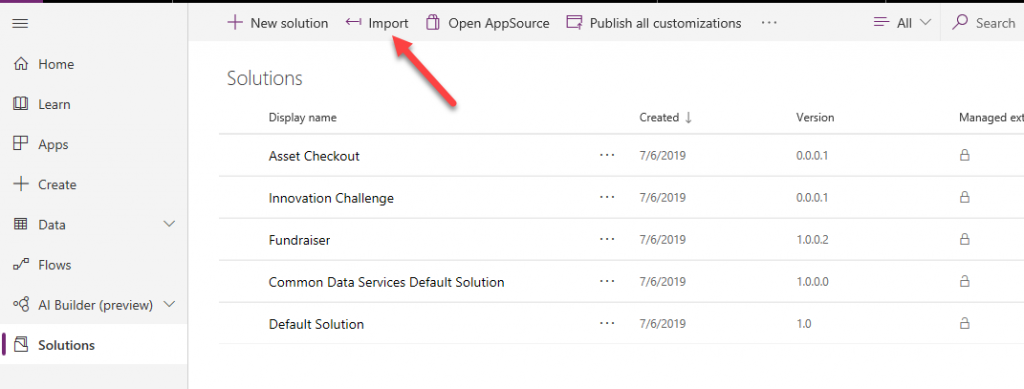
2. Select Solutions and click Import.
 3. Click Browse.
 4. Select the desired solution zip file located in the resources folder and click Open.

5. Click Next.

IMPORTANT NOTE:

6. Click Import and wait for the importing to complete.
7. Click Publish All Customizations and wait for the publishing to complete.

8. Click Close.

App Configurations
Once the solutions are imported, we need to configure few tables needed to run the apps properly.
Using the model driven app – Kudos admin, you can add badges specific to your organization.
Kudos in particular supports multiple languages. The Strings entity let you add the strings corresponding to your locale.
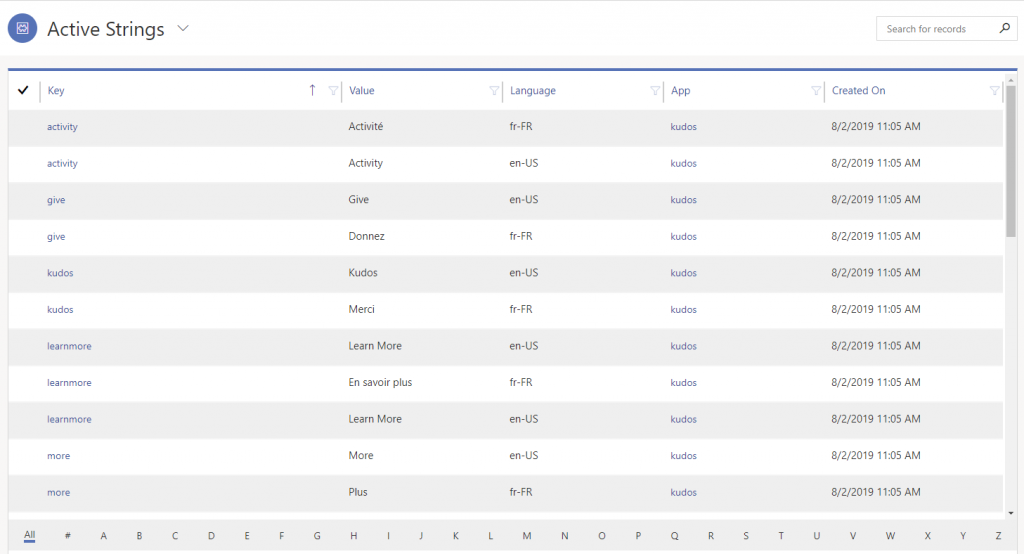
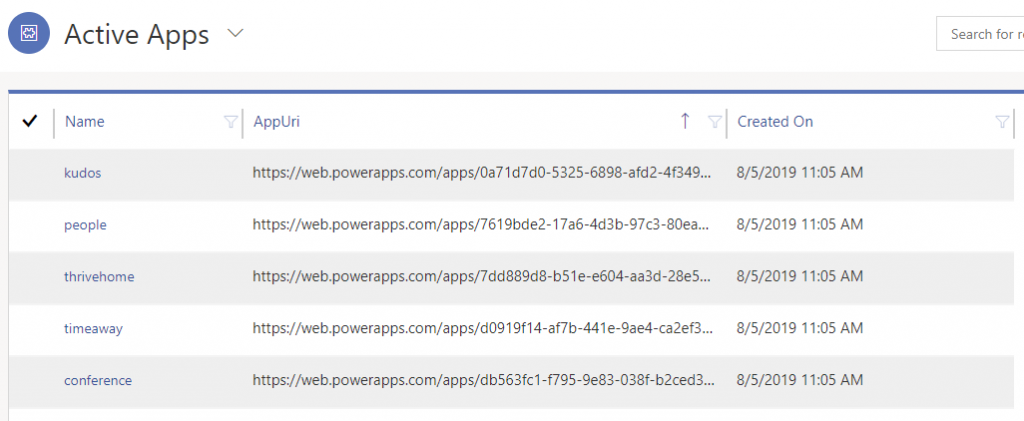
As described earlier, the hamburger menu allow users to navigate to other apps. You can add the apps by specifying the corresponding web link found in the app details section in the Powerapps maker portal.
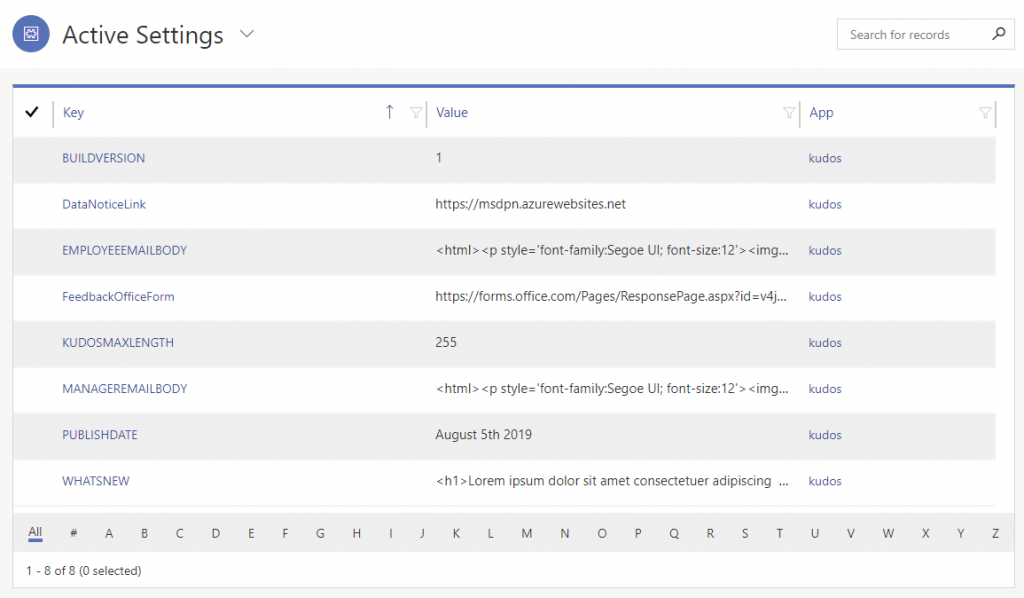
Finally, the Setting table allow to specify some global parameters used in the Kudos app including the email template used when sending a Kudos notification email.
To speed things up, we included a set of excel sheets that you can use to see the data in the above table. For this, you can use the data integration feature as follow.
1. Go to the Badge Entity and select Get data

2. Select the Excel data source and upload badge.xls file contained in the package you previously downloaded.
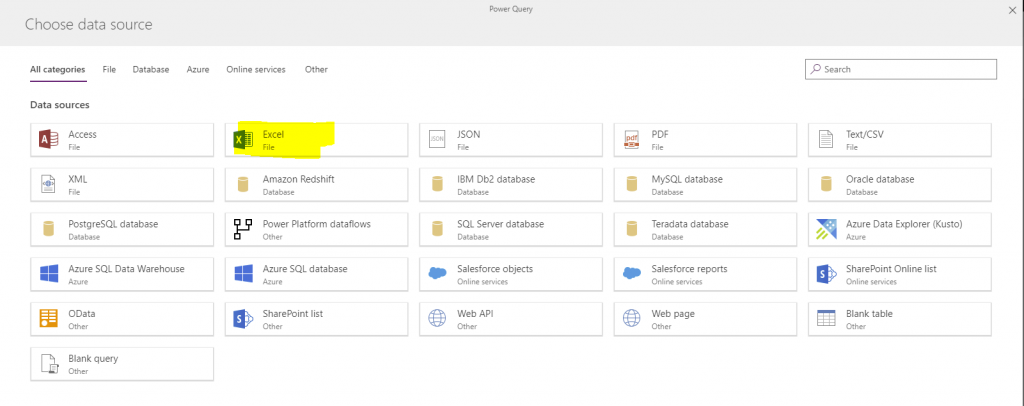
3. Press Next as prompted

4. Select “Auto Map” and the check box to delete existing rows. Select Next and then Create.
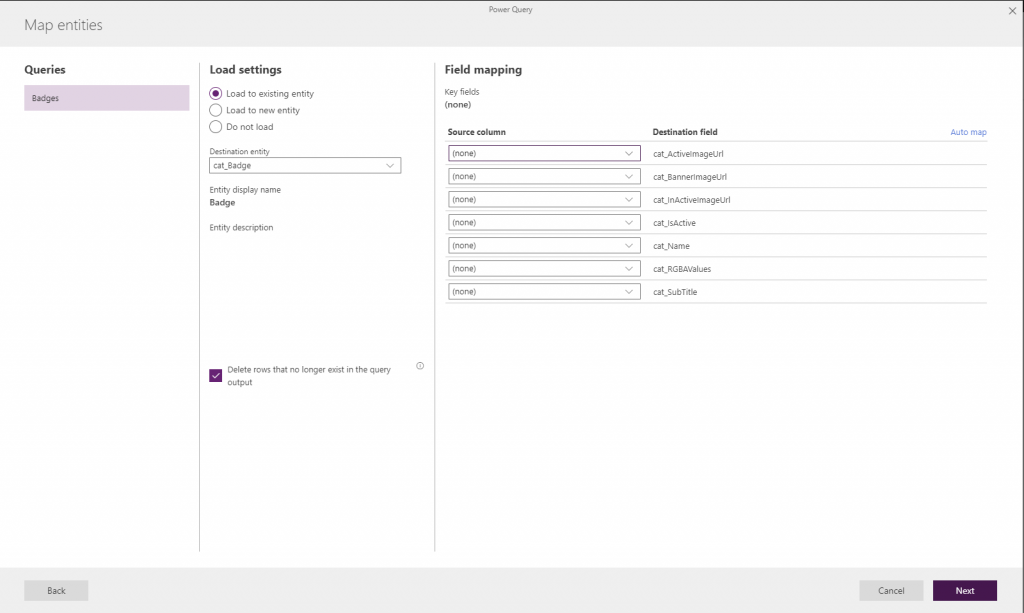
5. Repeat step 1-4 for the remaining entities.
6. Enjoy!
Please share your feedback via this survey!
